Are you a beginner looking to make laminated stickers using Cricut? Look no further! In this blog post, we will guide you through the entire process step-by-step. We will start with understanding the basics of Cricut for sticker production. You'll learn about calibration, adding/uploading printable images, and formatting them with the offset feature.
Then we'll move on to the printing process, including tips for successful printing. Next up is the role of lamination in sticker making and why choosing matte paper and matte lamination is a great choice. We'll provide a detailed guide on how to laminate your stickers, followed by cutting them using Cricut and best practices for cutting images. Testing your stickers before selling them is essential, so we've added tips for effective testing before selling. Lastly, we'll troubleshoot common problems that arise during sticker making and how to overcome them.
In this guide you'll learn everything you need to know. So let's get started on creating beautiful and long-lasting laminated stickers with Cricut!
Understanding the Basics of Cricut for Sticker Production
To start your sticker production journey with Cricut, the first step is to familiarize yourself with the design software, Design Space. Choose the right sticker paper that suits your project and explore the various cutting options available on the Cricut machine. Properly load your sticker paper onto the Cricut mat, ensuring a smooth process. Additionally, get to know the essential tools and settings required for efficient sticker production. By understanding these basics, you'll be well-equipped to create beautiful, professional-quality stickers with your Cricut machine.
Which Cricut machines can I use to produce printable vinyl stickers?
You can use any Cricut machine except the Cricut Joy. I use the Cricut Explore Air series, but many people prefer the Cricut Maker for sticker production.
Importance of Calibration in Cricut
Calibrating your Cricut machine is crucial for achieving accurate cuts. By using the Cricut Design Space software, you can easily calibrate your machine and ensure precise sticker production. Proper calibration has a direct impact on the quality and precision of your stickers. It helps troubleshoot common issues and maximizes the potential of your Cricut machine. Regular calibration is necessary to maintain optimal performance. So, remember to calibrate your Cricut machine to create high-quality laminated stickers without any hassle.
How to Add or Upload Printable Images
To add or upload printable images in Cricut Design Space, there are several options available. You can explore the different ways to add images to your canvas and create custom stickers. Learn how to upload your own images for sticker printing and manipulate them within Design Space by resizing and adjusting their properties. Ensure that your images have high resolution and quality for optimal printing results. Additionally, take advantage of Cricut's image library, which offers countless sticker design possibilities. By following these steps, you'll be able to unlock the full potential of your Cricut machine and create amazing custom stickers. Remember to choose “Insert Images” in the lower right corner to add your uploaded sticker design into the canvas. This opens the design in your canvas, allowing you to further customize and enhance your sticker.
The Art of Formatting Images with Offset Feature
In sticker design, incorporating the offset feature in Cricut Design Space toolbar can elevate your creations to a whole new level. One of the benefits of using a white offset around your sticker design is the professional and polished look it adds. By mastering the offset feature in Cricut Design Space, you can create stunning sticker designs with ease. Learn how to add a white border or background to your stickers using the offset tool in the toolbar, unlocking new creative possibilities. Just remember to flatten any offsets you add in Cricut Design Space for optimal results. With precise image formatting, you can achieve high-quality stickers that stand out.
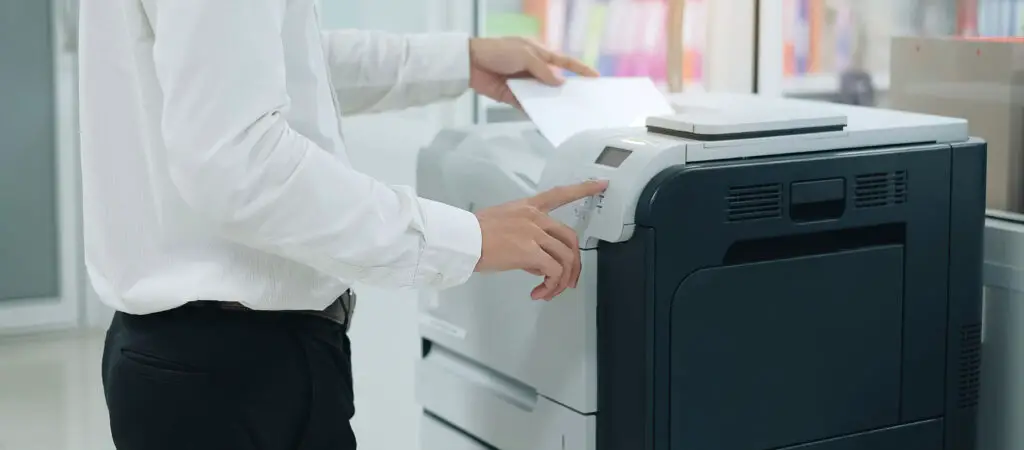
The Printing Process
Printing stickers using your inkjet or laser printer is a straightforward process. After you have a design ready to go in Cricut, use their “Make It!” button in the top right of the app to begin the printing process. Load printable sticker paper into your printer, then print your design with the best print settings enabled. Yes – include bleed when you print, as it helps hide any calibration issues.
Tips for Successful Printing
Optimizing your printer settings is crucial for achieving the best sticker print quality. Take the time to align your images and registration marks properly to ensure accurate cutting with your Cricut machine. It's also worth exploring different sticker paper options to find the one that suits your needs best. To avoid common printing issues like ink smudging or paper jams, make sure to follow your printer's best practices.
I've found that my printers work best when I set them to “premium” paper settings and high quality color prints. Every system dialog is different, so be sure to consult the internet or your manual if you can't find a setting. There is probably a tutorial out there perfect for your printer.
Lamination in Sticker Making
Lamination plays a crucial role in sticker making, offering numerous benefits that enhance durability and longevity. By laminating your stickers, you can ensure they withstand various conditions and maintain their quality over time. It's important to choose the right lamination method and materials for your stickers to achieve optimal results. Additionally, there are different ways to apply lamination to your printed and cut stickers, such as adding a glossy or matte finish. However, when it comes to making your stickers waterproof, the best way is to use self-adhesive laminate over printable vinyl. This method not only saves time but also provides effective waterproofing, surpassing the aerosol spray sealing method. With lamination, you can create high-quality, long-lasting stickers that stand out from the crowd.
Why Should I Choose Matte Paper/Lamination?
When it comes to creating high-quality stickers with your Cricut, choosing the right materials is essential. That's why many beginners opt for matte paper and matte lamination.
Not only do these choices help your Cricut read the cut lines better for precise cutting, but they also create a smooth and professional finish for your stickers. Matte lamination reduces glare, enhancing the visibility of your printed designs. Additionally, choosing matte paper and lamination gives your stickers a trendy and modern look. The matte finish not only adds a touch of luxury but also provides a protective layer, making your stickers more durable and long-lasting.
Seriously: matte is where it's at. It doesn't matter if you subscribe to Cricut Access or pay someone to design your stickers. If you use glossy paper and a glossy laminate, your Cricut machine will not be able to read the registration marks, and you won't have a cut image.
What materials do I need for laminated stickers with Cricut?
To make laminated stickers with Cricut, you will need printable vinyl or sticker paper, a laminating machine or self-adhesive laminating sheets, and of course, a Cricut machine. Make sure you have a printer to print your designs onto the vinyl or sticker paper before cutting them with your Cricut.
Step-by-Step Guide to Laminating Stickers
To create laminated stickers with your Cricut, follow this step-by-step guide. First, prepare your design in Cricut Design Space, utilizing the various NLP terms like vinyl, print then cut, and graphics. Next, print your design on sticker paper using an inkjet printer, ensuring high quality and detailed graphics. Then, apply laminate to the printed sticker paper using a laminating machine, waterproofing the stickers and making them more durable. Finally, use Cricut's Print and Cut feature to die-cut your new laminated stickers, giving them a professional finish. This process is a great way to create custom stickers, including your own stickers, that withstand various conditions.
Laminating Tools
To create professional-looking laminated stickers with your Cricut, you'll need a few essential tools. First, a laminating machine is crucial for applying the laminate sheet to the stickers. I recommend using a “cold” lamination method for optimal results. Additionally, you'll need laminating materials to actually carry out the lamination process. A cutting tool will be necessary to trim any excess laminate and sticker paper, ensuring clean edges. Lastly, a scraper tool is essential for smoothing out any air bubbles that may occur during lamination. These necessary tools will help you achieve high-quality, long-lasting laminated stickers.
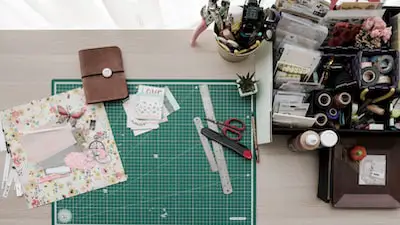
Cutting the Sticker Sheet with Cricut
In order to successfully cut your sticker sheet with Cricut, there are a few important steps to follow. First, make sure to set up your Cricut machine correctly for cutting sticker sheets. This includes selecting the appropriate cut settings for your specific type of sticker paper. Next, consider different ways to position your designs on the cutting mat to maximize efficiency during the cutting process. If you encounter any issues such as incomplete cuts or torn edges, don't worry! Troubleshooting common cutting problems is part of the process.
Best Practices for Cutting Images
Mastering the art of cutting intricate and detailed sticker designs is essential for creating professional-looking die-cut stickers with ease. To achieve clean and precise cuts, it is important to optimize cut settings according to the type of sticker paper and design complexity. Weeding techniques play a crucial role in removing excess material and ensuring the final stickers look flawless. When it comes to transferring cut stickers, explore different methods such as using transfer tape or directly applying them to various surfaces. By leveraging Cricut's advanced cutting features, you can take your sticker-making skills to the next level.
Testing Your Stickers: Why is it Important?
Testing your stickers is crucial for ensuring the quality, durability, and functionality of the final product. By conducting tests, you can identify any issues with the printing, cutting, or lamination process and make necessary adjustments. It also helps ensure that the adhesive on the stickers is strong enough to stick to various surfaces and that they meet your desired aesthetic standards.
Tips for Effective Testing
When preparing to sell your laminated stickers, it's crucial to conduct thorough testing to ensure their quality and durability. Start by checking the adhesive strength. Stick the stickers to different surfaces and observe if they peel or lift. Test their durability by exposing them to various conditions like water and sunlight. It's also important to verify that the printed colors and design details remain vibrant and intact after testing. Additionally, assess the overall quality of the laminated stickers, paying attention to the smoothness of the finish and the absence of air bubbles. Lastly, gather feedback from others to gain different perspectives on the sticker's design, usability, and overall appeal.
Printer Issues
If you're having trouble with your printer, be sure to check both the settings you're using for the printer as well as the type of paper that you're using. Some paper is only made for inkjet, not laser printers. You can ruin your laser printer by putting non-laser paper in it, so do be careful.
Mat Issues
If your mat isn't sticking, get a new one. An unsticky mat is the best way to ruin your die-cut graphics and stickers. The generic mats on Amazon work great and you can get a 10 pack or 20 pack for the same price as a few of the Cricut branded ones.
How to Troubleshoot Common Sticker Making Issues
If you're experiencing issues with sticker making, there are several troubleshooting steps you can take to resolve them. Firstly, if your stickers aren't cutting properly, adjust the cut settings in Cricut Design Space to ensure clean and precise cuts. Additionally, make sure that the sticker paper is properly aligned on the cutting mat to avoid any misalignment issues. If you notice bubbling or lifting of the laminate, try applying more pressure during the lamination process. It's also important to check your printer settings to ensure proper ink saturation and alignment when printing the stickers. Lastly, if the edges of your stickers aren't fully sealed, consider increasing the temperature or pressure on the laminating machine. Ensure that nothing is covering the black box on your printable sticker paper, including the laminate if you apply it before cutting.
Overcoming Challenges in Printing and Cutting Die-Cut Stickers and Graphics
To ensure smooth printing and cutting of your stickers, there are a few challenges you might encounter. Firstly, make sure that your sticker paper is compatible with your printer and has the correct weight and thickness. Adjust your printer settings for optimal print quality and color accuracy. To prevent misalignment during printing, clear the printer's sensor. Use the appropriate cutting mat and keep it clean to achieve precise and accurate results. Following these steps will help you overcome any challenges in printing and cutting your stickers.
How To Laminate Cricut Stickers That Have Already Been Cut
Well, friend – you really should have laminated first. After you've cut your Cricut design, to laminate, you'll need to laminate each sticker individually, then use an Exacto knife or scissors to cut away the excess laminate.
Conclusion
Making laminated stickers with Cricut can be a fun and creative process. Understand the basics of Cricut and formatting images so you can create stunning stickers. The printing process requires attention to detail and using matte paper with matte lamination can enhance the quality of your stickers. Following a step-by-step guide to laminating and cutting the sticker sheet with Cricut is essential for achieving professional results. Don't forget to test your stickers before selling to ensure they meet your standards. And if you encounter any issues along the way, troubleshooting can help you overcome challenges and improve your sticker making skills. Happy sticker making!