Iron on stickers are a great way to add text or graphics to clothing. They are also very durable and can last for many years. However, sometimes you may want to remove them. Maybe you want to change the design of your shirt, or maybe you just misplaced the stickers. Whatever the reason, we will show you how to remove iron-ons in just a few minutes!

How do iron on stickers work?
Iron-on stickers are a fun and easy way to add some personality to your clothes. They’re made of two parts: the design itself, which is usually made of paper or fabric, and a sticky backing. To apply an iron-on sticker, you simply need to place it on the garment in the desired location and then iron it on.
The heat from the iron activates the adhesive on the back of the sticker, causing it to bond with the fabric. Iron-on stickers can be removed by gently peeling them off, but they’re not reusable once they’ve been applied. Whether you’re looking to show off your sense of style or show support for your favorite team, iron-on stickers are a great way to do it!
How can I soften the iron-on transfer glue to remove iron on labels?
An iron-on label is a great way to add a personal touch to clothing, but sometimes they need to be removed. If the label is starting to peel off or you want to replace it with a new one, you'll need to soften the glue that's holding it in place. There are two ways to remove iron on labels, which we'll cover down below.
Method one: heat it up and peel it off with a butter knife or other tool
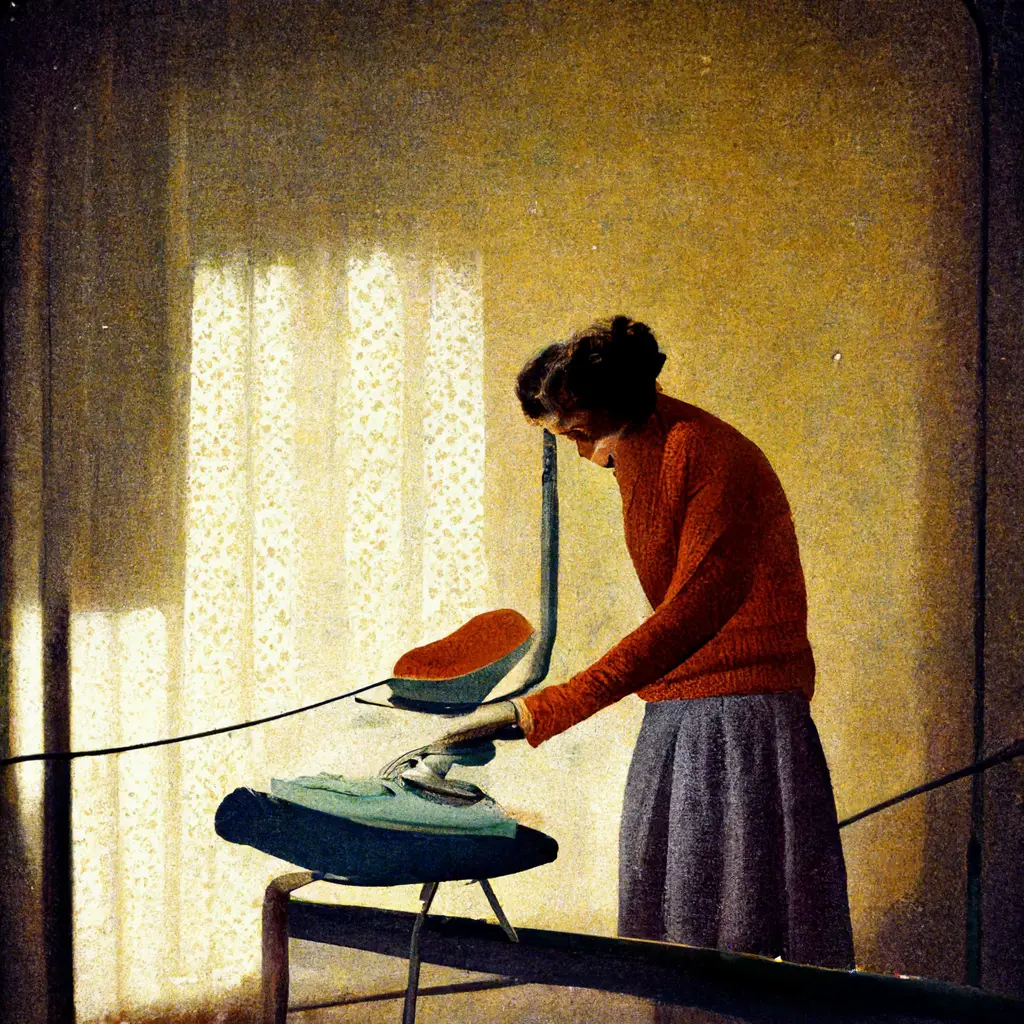
The best way to do this is to apply a small amount of heat. You can use a hair dryer on the low setting or an iron set to medium heat.
If you use an iron, either use an ironing board or make a safe surface. An ironing board is your best bet though. If you don't have an ironing board, find a flat surface and protect it with a wet towel. Please remember to place a damp towel or soft cloth underneath the thing you're ironing so that you don't hurt your table.
Above the garment, you'll want to lay out some parchment paper. Unlike wax paper, parchment paper is great for receiving heat and not giving anything off. With wax paper, you run the risk of a mess.
Apply the heat source gently and move it around until the glue is melted and the label can be easily peeled off. This can take a little while depending on what you're removing, but keep a close eye on it.
Heat acts as an adhesive remover, but too much heat, and you can burn the fabric or hurt yourself. So if you're using your iron on the hottest setting, please be careful.
Please do remember that the iron is hot, and you should NOT use your bare fingers to see if the glue is soft yet. Use tweezers or a knife instead.
If you're having trouble getting all of the glue off, you can try using a product like Goo Gone to dissolve any remaining residue. With a little patience, you'll be able to remove those ironed-on letters in no time!
Method two: chemical solvents like Goo Gone, nail polish remover, or other fabric safe adhesive remover
If you're looking for a quick and easy way to remove iron-on stickers, then chemical solvents may be the answer.
You'll need to use an adhesive remover for the best results. A common adhesive remover is Goo Gone, but there are others, too. Nail polish remover, rubbing alcohol, and any other fabric safe adhesive remover can be used to break down the adhesive that binds the sticker to the fabric.
Unfortunately, nail polish remover may not work as an adhesive remover for all types of iron-on transfer materials, so you'll just need to play it by ear. The same is true for rubbing alcohol, so just play around until you find something that works for any residual glue.
Simply apply the solvent to a cotton ball or cloth and press it firmly against the sticker for a few seconds. Then, carefully peel away the sticker. If any adhesive residue remains, apply a little more solvent and repeat the process. With this method, you should be able to easily remove even the most stubborn iron-on stickers.
When to use both methods? To get rid of residual glue.
Sometimes, you'll be able to remove an iron-on, but the glue will stay behind. That's not ideal if you want to re-use the shirt. In that case, you'll need to use BOTH of the methods above. Luckily, this should remove any remaining glue.
First, use the heat method to loosen the glue and get most of the sticker off. Remember to protect your garment with parchment paper. Then, follow up with a solvent like Goo Gone to remove any residual adhesive. With a little effort, you should be able to completely remove the iron-on and the glue, and you'll be left with clean fabric.
Reminders for safety and preserving your garment
Here are a few reminders so that you don't hurt yourself in this process.
Protect your ironing surfaces
Heat can warp a plastic or wooden table, so take care to put a towel underneath if you're using an iron.
Wash the garment before you start messing with things (if it's old, not a mistake)
An iron can accidentally turn that half eaten M&M into a permanent fixture on your shirt, so give everything a wash if you're trying to renovate an old shirt. If it's a fresh shirt, you can probably skip this step.
Wear the appropriate gloves if you're using a chemical solvent – or use a cotton ball
You only have two hands and ten fingers, and we like to keep our skin on and our nerves happy. So use nitrile gloves, and keep those chemicals off your skin.
Don't use your fingers to peel hot vinyl – use a damp cloth, or spoon or butter knife.
I've done it and I cannot recommend it. Don't use your fingers to touch hot vinyl. Ouch. Instead, use a blunt object like the back of a spoon, or a butter knife to help you peel. If the vinyl is fresh, you can also try using a damp cloth to help release it.
What else can this method work on?
- Ironed on letters
- Iron on patch / iron on patches
- Iron on labels
- Hats with vinyl
- Pretty much anything with vinyl
- Heated patches like on old jeans
Final thoughts about safely removing iron on transfers
With these tips in mind, you should be able to remove those pesky iron-on stickers with ease! Just remember to take your time, be careful, and use the appropriate safety gear to protect yourself. With a little patience and effort, you'll be able to safely remove even the most stubborn iron-on stickers.
Have you ever had success removing an iron on sticker? What method did you use? Let us know in the comments below!